You can now use a photo or any image you like as the background of the metronome screen. In the menu, open Display settings and choose an image under Background image, or drop an image file onto the thumbnail on the left of that section. If you're signed in, the image is saved to your account, so you get the same background on your other devices. The image is private: only you can see it.
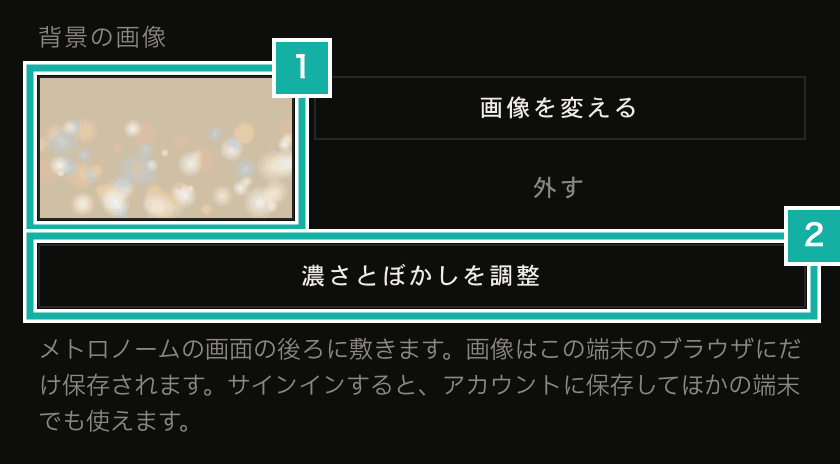
- The thumbnail. You can also choose an image by dropping a file here
- The button for changing how the image looks (overlay strength and blur)
The simplest way to show an image behind the screen is to put the image at the back and make the screen color transparent. On its own, though, that left the buttons sitting on top of the image without blending in. This post covers how I kept the buttons and the tempo number readable over the image while letting them blend with it.
A transparent screen color left the buttons as solid blocks
The first version was layered like this, from back to front:
- The chosen image
- A semi-transparent overlay in the screen color (black in dark mode, near-white in light mode)
- The metronome screen, with its own color made transparent so the image shows through
But the tempo and time signature buttons have their own fill. Only the screen itself had been made transparent; the buttons kept their solid fill. In dark mode they looked like black blocks floating over the image, and small white text (such as the Tempo heading) was lost against bright images.
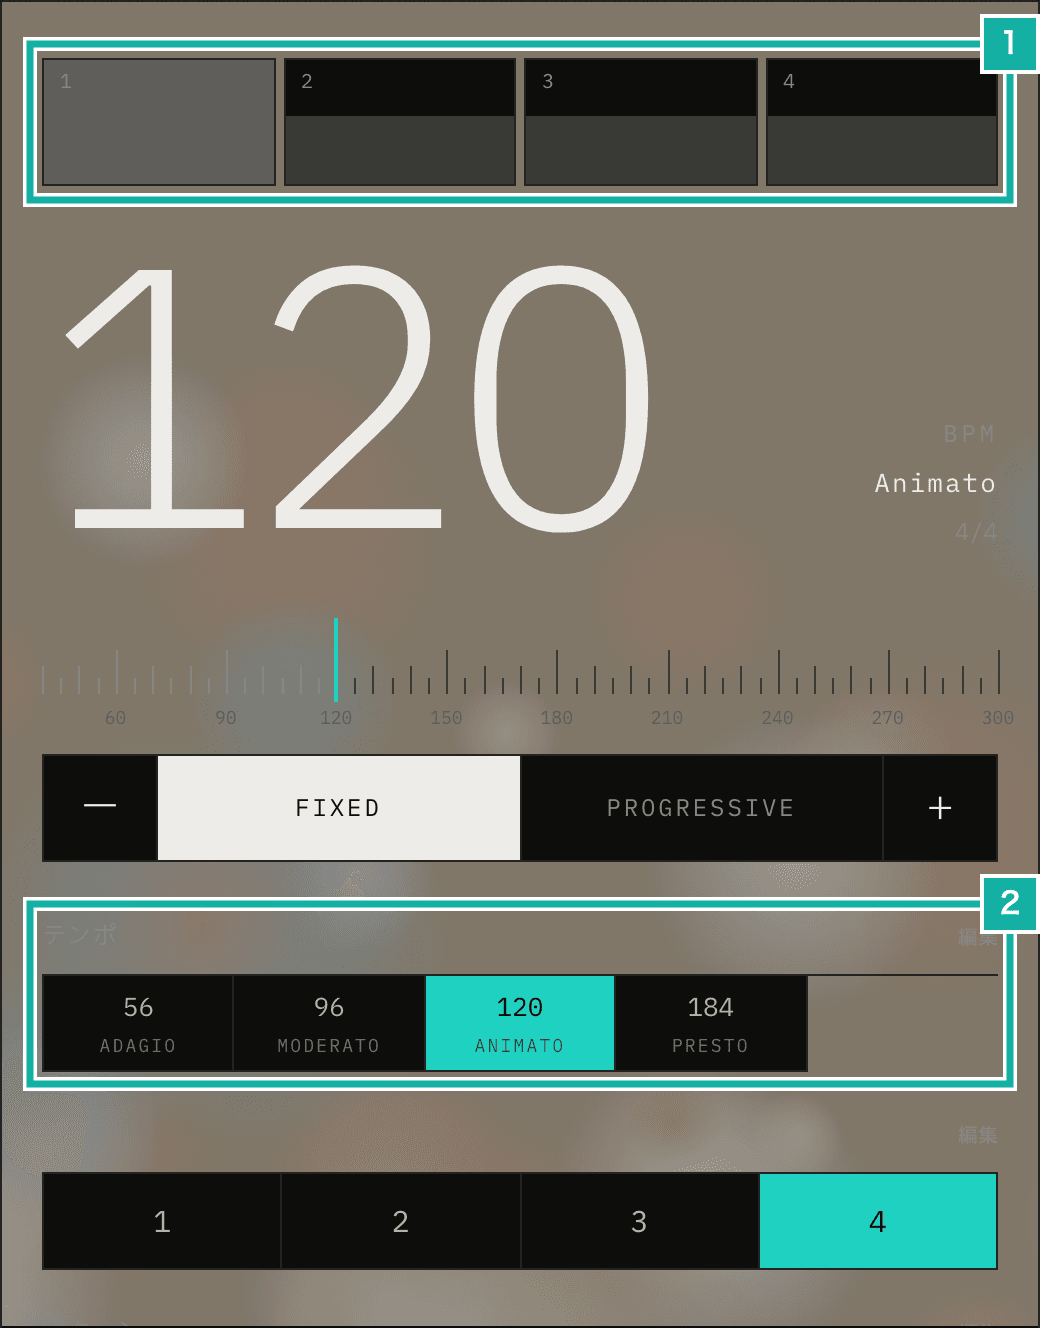
- The beat meter (the row of cells at the top, one per beat). The cells keep their fill too
- The tempo buttons. They remain as black blocks, and the Tempo heading above them is lost against the image
A second overlay behind the center column, and translucent buttons
On the metronome screen, the buttons and numbers sit in a tall column in the middle of the screen. I fixed the problem in two steps.
First, I added a second overlay at 50% opacity behind the center column only. The image shows clearly in the margins on the left and right, and only faintly behind the buttons.
Next, I made the fill of the buttons in the center column translucent. Instead of changing the buttons one by one, I swapped a color variable (a CSS custom property). The app's buttons get their fill from variables such as --mfm-bg. While a background image is set, replacing that variable with a translucent color inside the center column makes every button there translucent at once.
/* data-app-background: a background image is set (on <html>)
   data-app-surface: the center column */
[data-app-background] [data-app-surface] {
  --mfm-bg: var(--mfm-bg-on-image);
  --mfm-bg-hover: var(--mfm-bg-hover-on-image);
  --mfm-bg-pressed: var(--mfm-bg-pressed-on-image);
}I also considered outline-only buttons, drawn with 1px lines and no fill. On bright images or images with fine patterns, though, the lines and text get lost, so I didn't go with it.
Outlines stood out on bright images
When I tried a bright image in light mode, the thin outlines around the beat meter cells stood out over the image. Once the fill is translucent, you can tell the cells apart without outlines. So while a background image is set, the outlines around the cells and the borders on either side of the center column are removed.
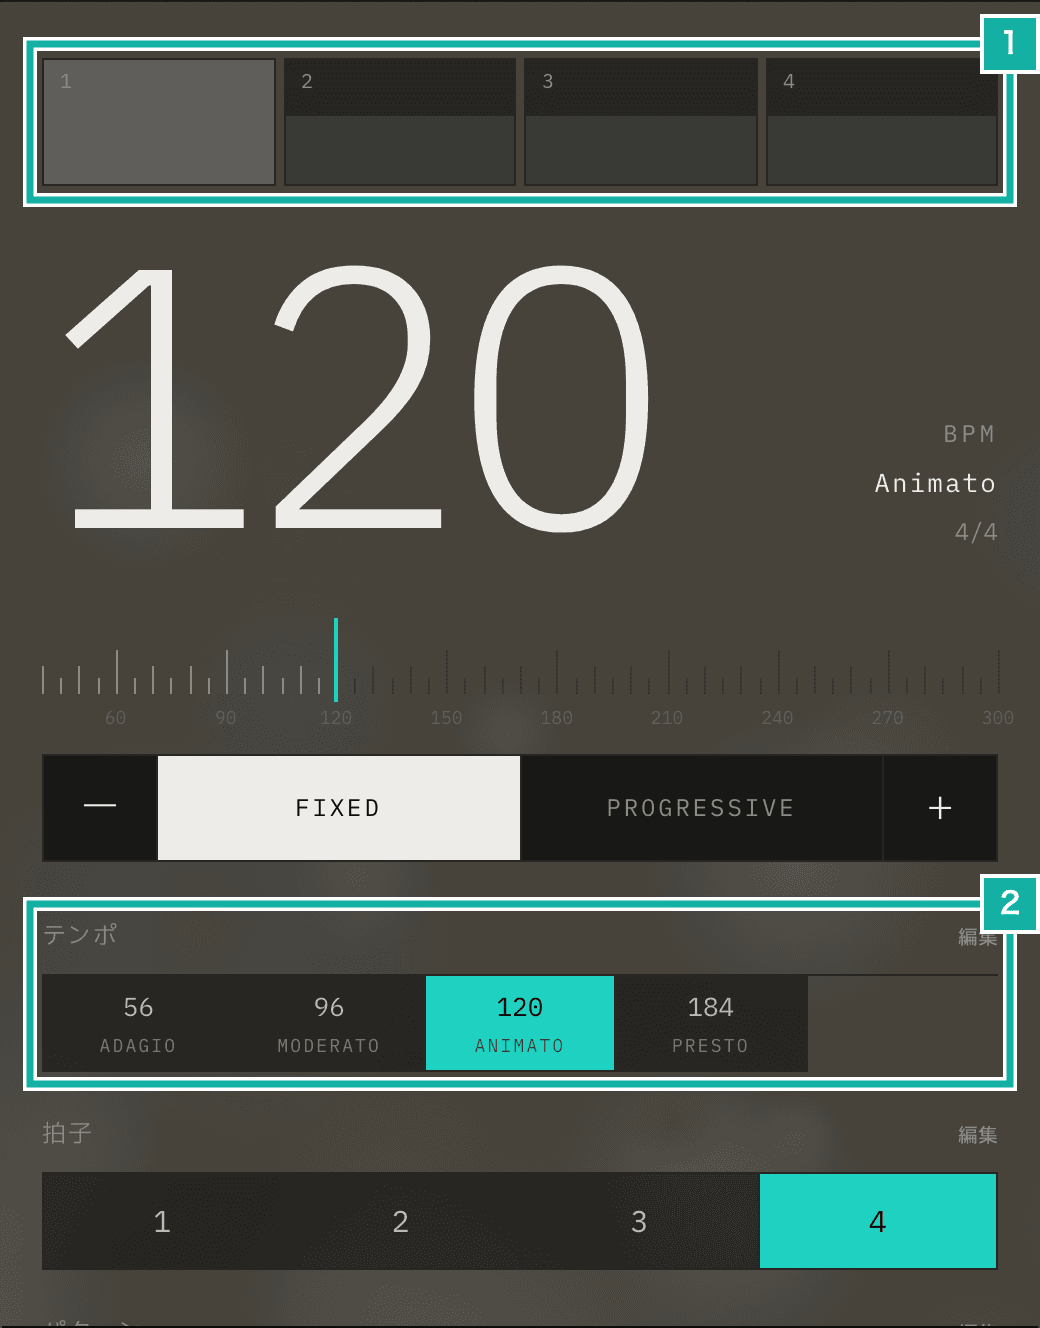
- The beat meter. The outlines around the cells are gone
- The tempo buttons. The fill is translucent and the heading is readable
Adjusting the overlay and blur with a live view
A stronger overlay makes the text easier to read but the image harder to see. You can also blur the image itself, which smooths out fine patterns so they clash less with the text. The right amount depends on the image, so you can adjust both while seeing the result.
In my first version, these sliders were inside Display settings. But the Display settings panel covers the screen, so you couldn't see how the image changed as you moved a slider. Now, pressing ADJUST OVERLAY & BLUR closes Display settings, hides the metronome, and shows only the sliders over the image.
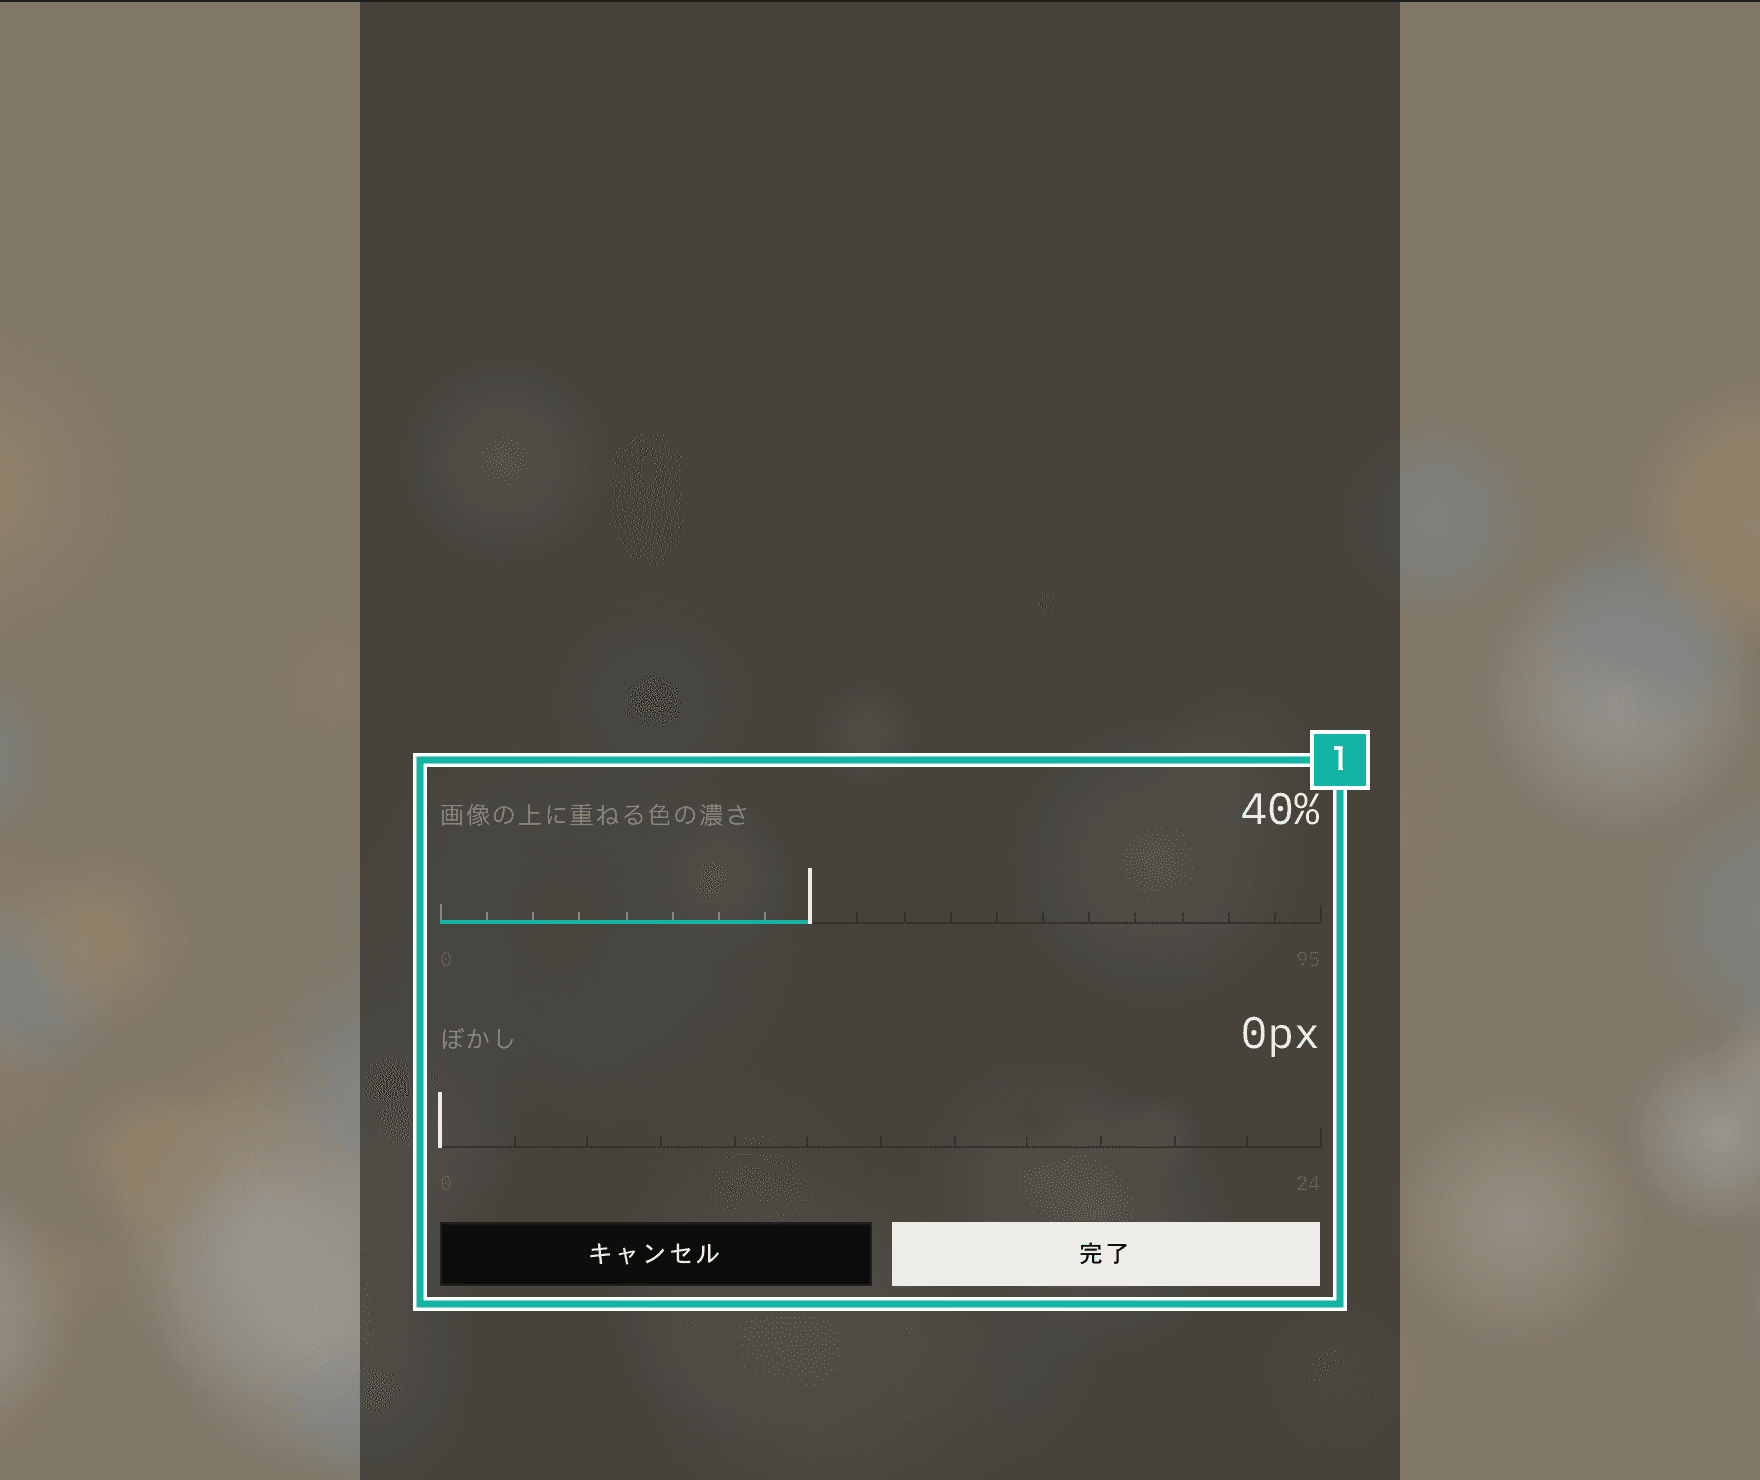
- The overlay strength and blur sliders, with the CANCEL and DONE buttons
DONE keeps the new values, and CANCEL restores the ones from before you started; either way, you return to Display settings. Choosing a new image also takes you straight to this view.